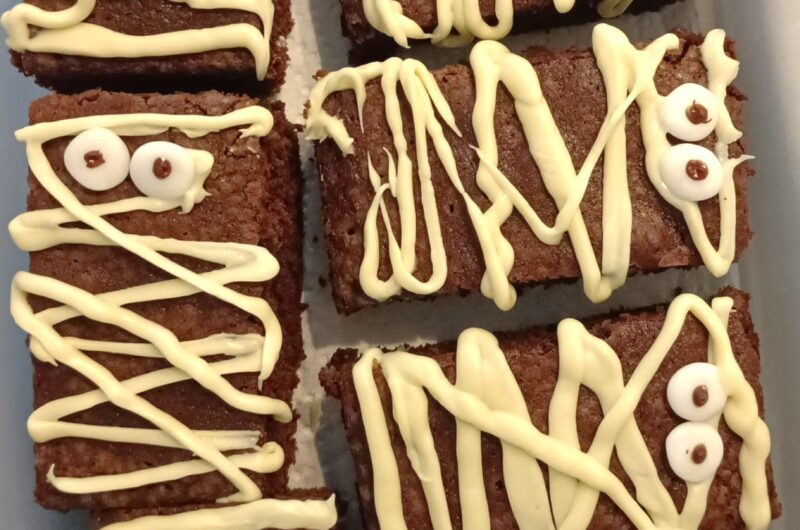
These Halloween mummy brownies are rich, chocolatey, and decorated with white chocolate bandages and little candy eyes. Made with a fudgy homemade brownie base, they are a fun seasonal treat that looks festive without requiring complicated decorating techniques.
The brownies are made with melted dark chocolate, butter, two types of sugar, and cocoa powder for a deep chocolate flavour. Once baked and cooled, they are cut into individual portions and decorated with drizzles of white chocolate to create the look of little mummies.
Whether you are preparing Halloween treats for a family gathering, a school party, or a themed dessert table, these mummy brownies are easy to customise and enjoyable to make. You can bake the brownies ahead of time and decorate them when they are completely cool, making preparation more manageable.
Why You’ll Love This Recipe
- Rich chocolate flavour: Dark chocolate and cocoa powder create a deliciously chocolatey brownie.
- Easy Halloween decoration: White chocolate drizzles create the mummy bandages without special decorating equipment.
- Perfect for sharing: Cut the brownies into individual portions for parties and Halloween gatherings.
- Make-ahead friendly: Bake the brownie base in advance and decorate it closer to serving time.
- A fun baking activity: Adding the candy eyes and chocolate bandages is a simple decorating project for the Halloween season.
Mummy Brownies
Course: DessertCuisine: American-inspiredDifficulty: Easy8-10
brownies20
minutes25
minutes45-60
minutesIngredients
For the brownies:
115 g unsalted butter200 g dark chocolate, chopped
150 g granulated sugar
100 g brown sugar
3 large eggs
1 tsp vanilla extract
80 g all-purpose flour
25 g unsweetened cocoa powder
1/4 tsp salt
- For the mummy decoration:
100 g white chocolate, melted: Creates the mummy bandages.
Candy eyes: Use two per brownie to give each mummy its own expression.
Directions
- Prepare the baking tin
Preheat your oven to 180°C conventional or 160°C fan.
Line a 20 × 20 cm square baking tin with baking parchment, leaving a little overhang on two sides. This makes it easier to lift the brownies out once they have cooled.
Measure your ingredients before starting so that the chocolate mixture does not have to sit for too long while you prepare the remaining ingredients. - Melt the butter and dark chocolate
Place the butter and chopped dark chocolate in a heatproof bowl set over a saucepan of gently simmering water. Make sure the bottom of the bowl does not touch the water.
Stir occasionally until the chocolate and butter have melted into a smooth mixture. Alternatively, microwave them in short 20-second bursts, stirring between each interval.
Avoid overheating the chocolate, as it can become thick or grainy. Once smooth, remove the bowl from the heat and allow the mixture to cool slightly. - Add the sugars
Add the granulated sugar and brown sugar to the warm chocolate mixture. Stir until evenly combined.
Allow the mixture to cool a little more before adding the eggs. It should still be warm enough to mix easily but not so hot that it risks cooking the eggs when they are added. - Mix in the eggs and vanilla
Add the eggs one at a time, mixing well after each addition. Stir in the vanilla extract.
Continue mixing until the batter looks smooth, thick, and glossy. Avoid incorporating excessive air, as the aim is to create a dense brownie rather than a light cake. - Fold in the dry ingredients
Sift the flour, cocoa powder, and salt into the chocolate mixture.
Fold gently with a spatula until no obvious streaks of flour remain. Stop mixing as soon as the ingredients are combined; overmixing can make the brownies tougher.
The finished batter should be thick and evenly chocolate-coloured. - Bake the brownies
Pour the batter into the prepared tin and spread it evenly into the corners.
Bake for approximately 25–30 minutes. Start checking towards the lower end of the baking time, as ovens and tins can vary.
The edges should look set, while the centre should remain slightly soft. Insert a toothpick into the middle: it should come out with a few moist crumbs rather than completely raw batter.
Avoid waiting for the toothpick to come out perfectly clean, as this can mean the brownies have been overbaked.
Remove the tin from the oven and leave the brownies to cool completely before decorating. They will continue to firm up as they cool. - Cut the brownies into portions
Once the brownies are completely cool, use the parchment overhang to lift them from the tin.
Place them on a chopping board and cut into 8–12 rectangles or squares, depending on the size you prefer.
For cleaner edges, use a sharp knife and wipe it between cuts. If the brownies are particularly soft, let them cool for a little longer before slicing. - Create the mummy bandages
Melt the white chocolate in a heatproof bowl using short microwave intervals, stirring regularly. Stop heating as soon as it is smooth.
Transfer the melted chocolate to a piping bag with a very small opening, or use a spoon to drizzle thin lines across each brownie.
Move the chocolate back and forth in slightly irregular lines to create the appearance of wrapped bandages. Leave a small space near the top for the eyes.
While the white chocolate is still soft, place two candy eyes on each brownie. Adjust the spacing slightly to give each mummy a different expression. - Let the decoration set
Leave the decorated brownies at room temperature for approximately 10–15 minutes, or until the white chocolate has set.
If your kitchen is warm and the chocolate remains soft, place the brownies in the refrigerator briefly. Once the decorations are firm, arrange the brownies on a serving plate or store them in an airtight container.
Notes
- Use good-quality chocolate: The flavour of the dark chocolate is prominent, so choose one you enjoy.
Do not overbake: A few moist crumbs on the toothpick help indicate a fudgy centre.
Cool completely before decorating: Warm brownies can melt the white chocolate and cause the candy eyes to slide.
Make the chocolate lines irregular: Varying the direction and spacing makes the mummy bandages look more natural.
Keep the eye area clear: Leave a small gap in the white chocolate lines so the eyes remain visible.
Use a piping bag for finer lines: A small opening gives you more control, but a spoon works perfectly well for a rustic finish.
en is warm or the white chocolate decoration needs to remain firm, refrigerate the brownies in a covered container. Allow them to sit briefly at room temperature before serving for a softer texture.
Freezing: For the best results, freeze the undecorated brownie base. Once completely cool, cut it into portions and wrap them well before placing them in a freezer-safe container. Freeze for up to 2–3 months for best quality.
Thaw the brownies in the refrigerator or at room temperature while covered, then add the white chocolate bandages and candy eyes before serving.
Frequently Asked Questions
How do I know when the brownies are ready?
The edges should be set and the centre should remain slightly soft. A toothpick inserted into the middle should have a few moist crumbs attached, rather than wet batter. The brownies will become firmer as they cool.
Can I make mummy brownies the day before Halloween?
Yes. Bake the brownie base the day before and store it in an airtight container once cool. For the best decoration, add the white chocolate bandages and candy eyes on the day of serving.
Why are my brownies dry?
Overbaking is a common reason for dry brownies. Start checking a few minutes before the end of the suggested baking time, and remember that the brownies continue to set as they cool.
How do I stop the white chocolate from becoming too thick?
Heat it gently in short intervals and stir frequently. White chocolate can seize or become difficult to drizzle if it overheats or comes into contact with water. Use a completely dry bowl and utensils.
Can I decorate the brownies without a piping bag?
Yes. Use a teaspoon to drizzle thin lines of melted white chocolate across the surface. The lines do not need to be perfectly straight; irregular drizzles help create the mummy effect.
Can I use a different baking tin?
A tin of a different size can work, but the brownies will have a different thickness and baking time. A larger tin produces thinner brownies that may bake faster, while a smaller tin produces thicker brownies that may need longer.
More Halloween Treat Ideas
Looking for more spooky treats to make this Halloween? Try these easy, festive recipes:
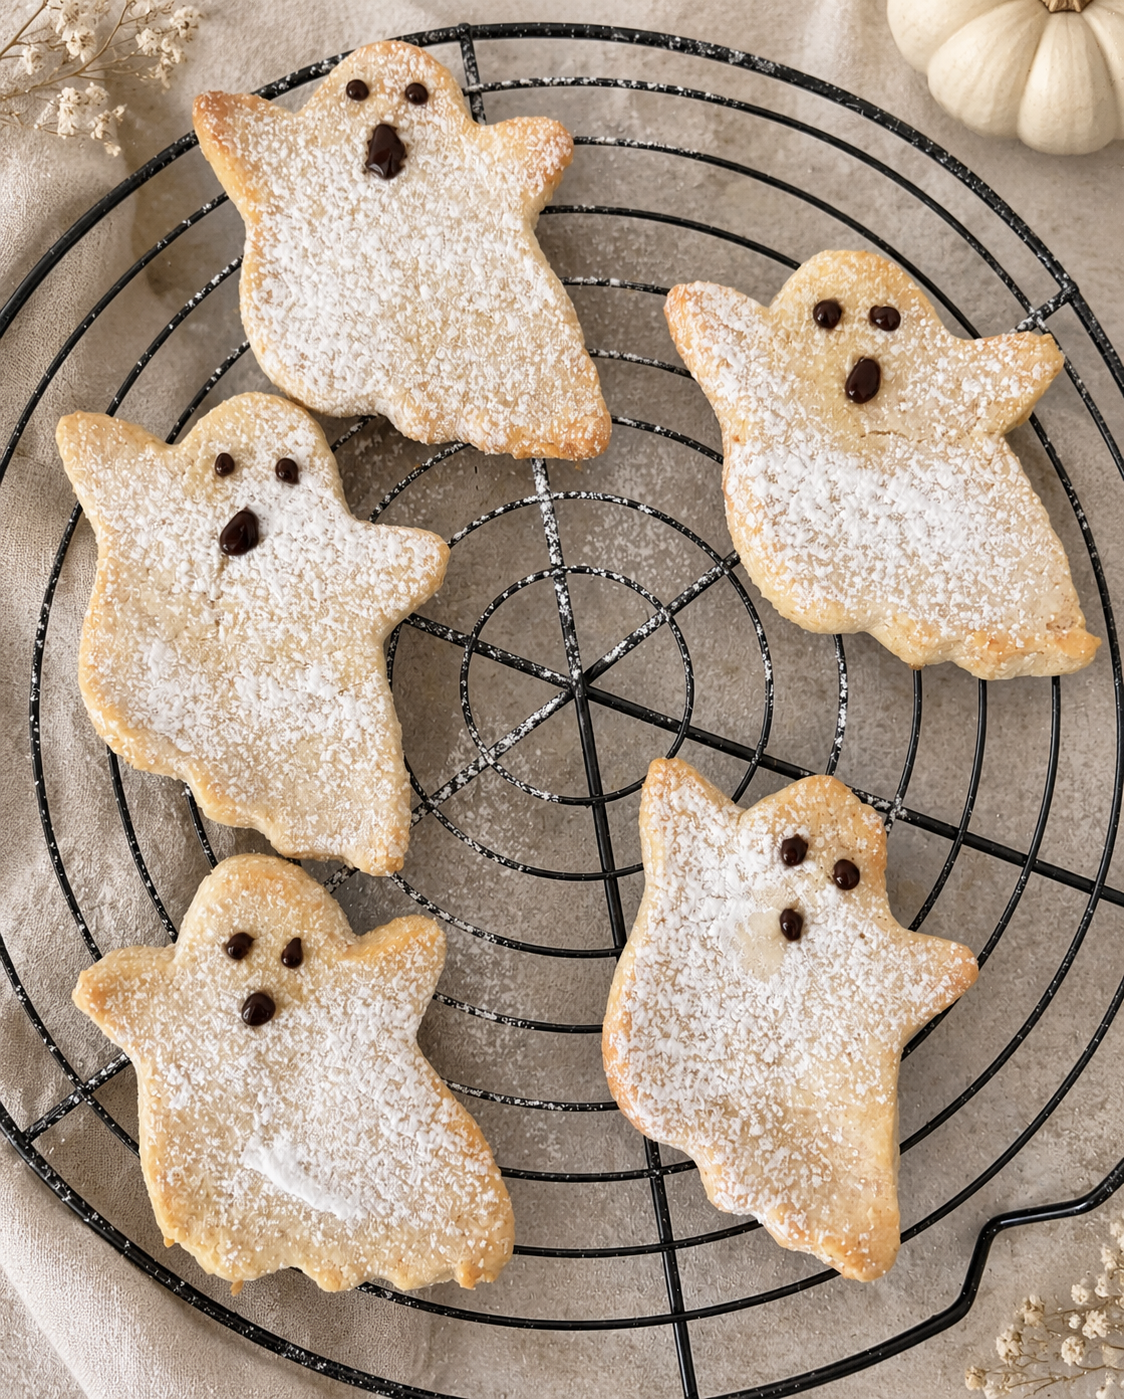
Halloween Ghost Cookies
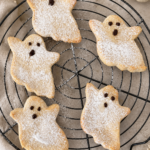
- Halloween Ghost Cookies – Buttery ghost-shaped cookies decorated with sweet icing sugar and chocolate faces. They’re a fun addition to any Halloween dessert table.
Make a batch of these Mummy Brownies and Ghost Cookies together for a simple Halloween party spread or a fun baking afternoon with the family.
Final Thoughts
These mummy brownies combine a rich homemade chocolate brownie with an easy Halloween decoration made from white chocolate and candy eyes. The brownie base can be prepared ahead, and the finishing touches take only a few minutes once everything has cooled.
For the best results, avoid overbaking the brownies, let them cool completely before decorating, and keep the white chocolate lines loose and irregular for a fun mummy-inspired finish. They make a simple seasonal dessert to share at Halloween parties or enjoy at home.